New Arrivals
Premium leathers, innovative tools, and fresh supplies
designed to make your craft easier.
Deal Zone
Limited runs, discontinued hides, and special markdowns.
Grab them before they’re gone.
Staff Picks for Beginners
Our team's favorites to have on the workbench.
🇫🇷 Alran
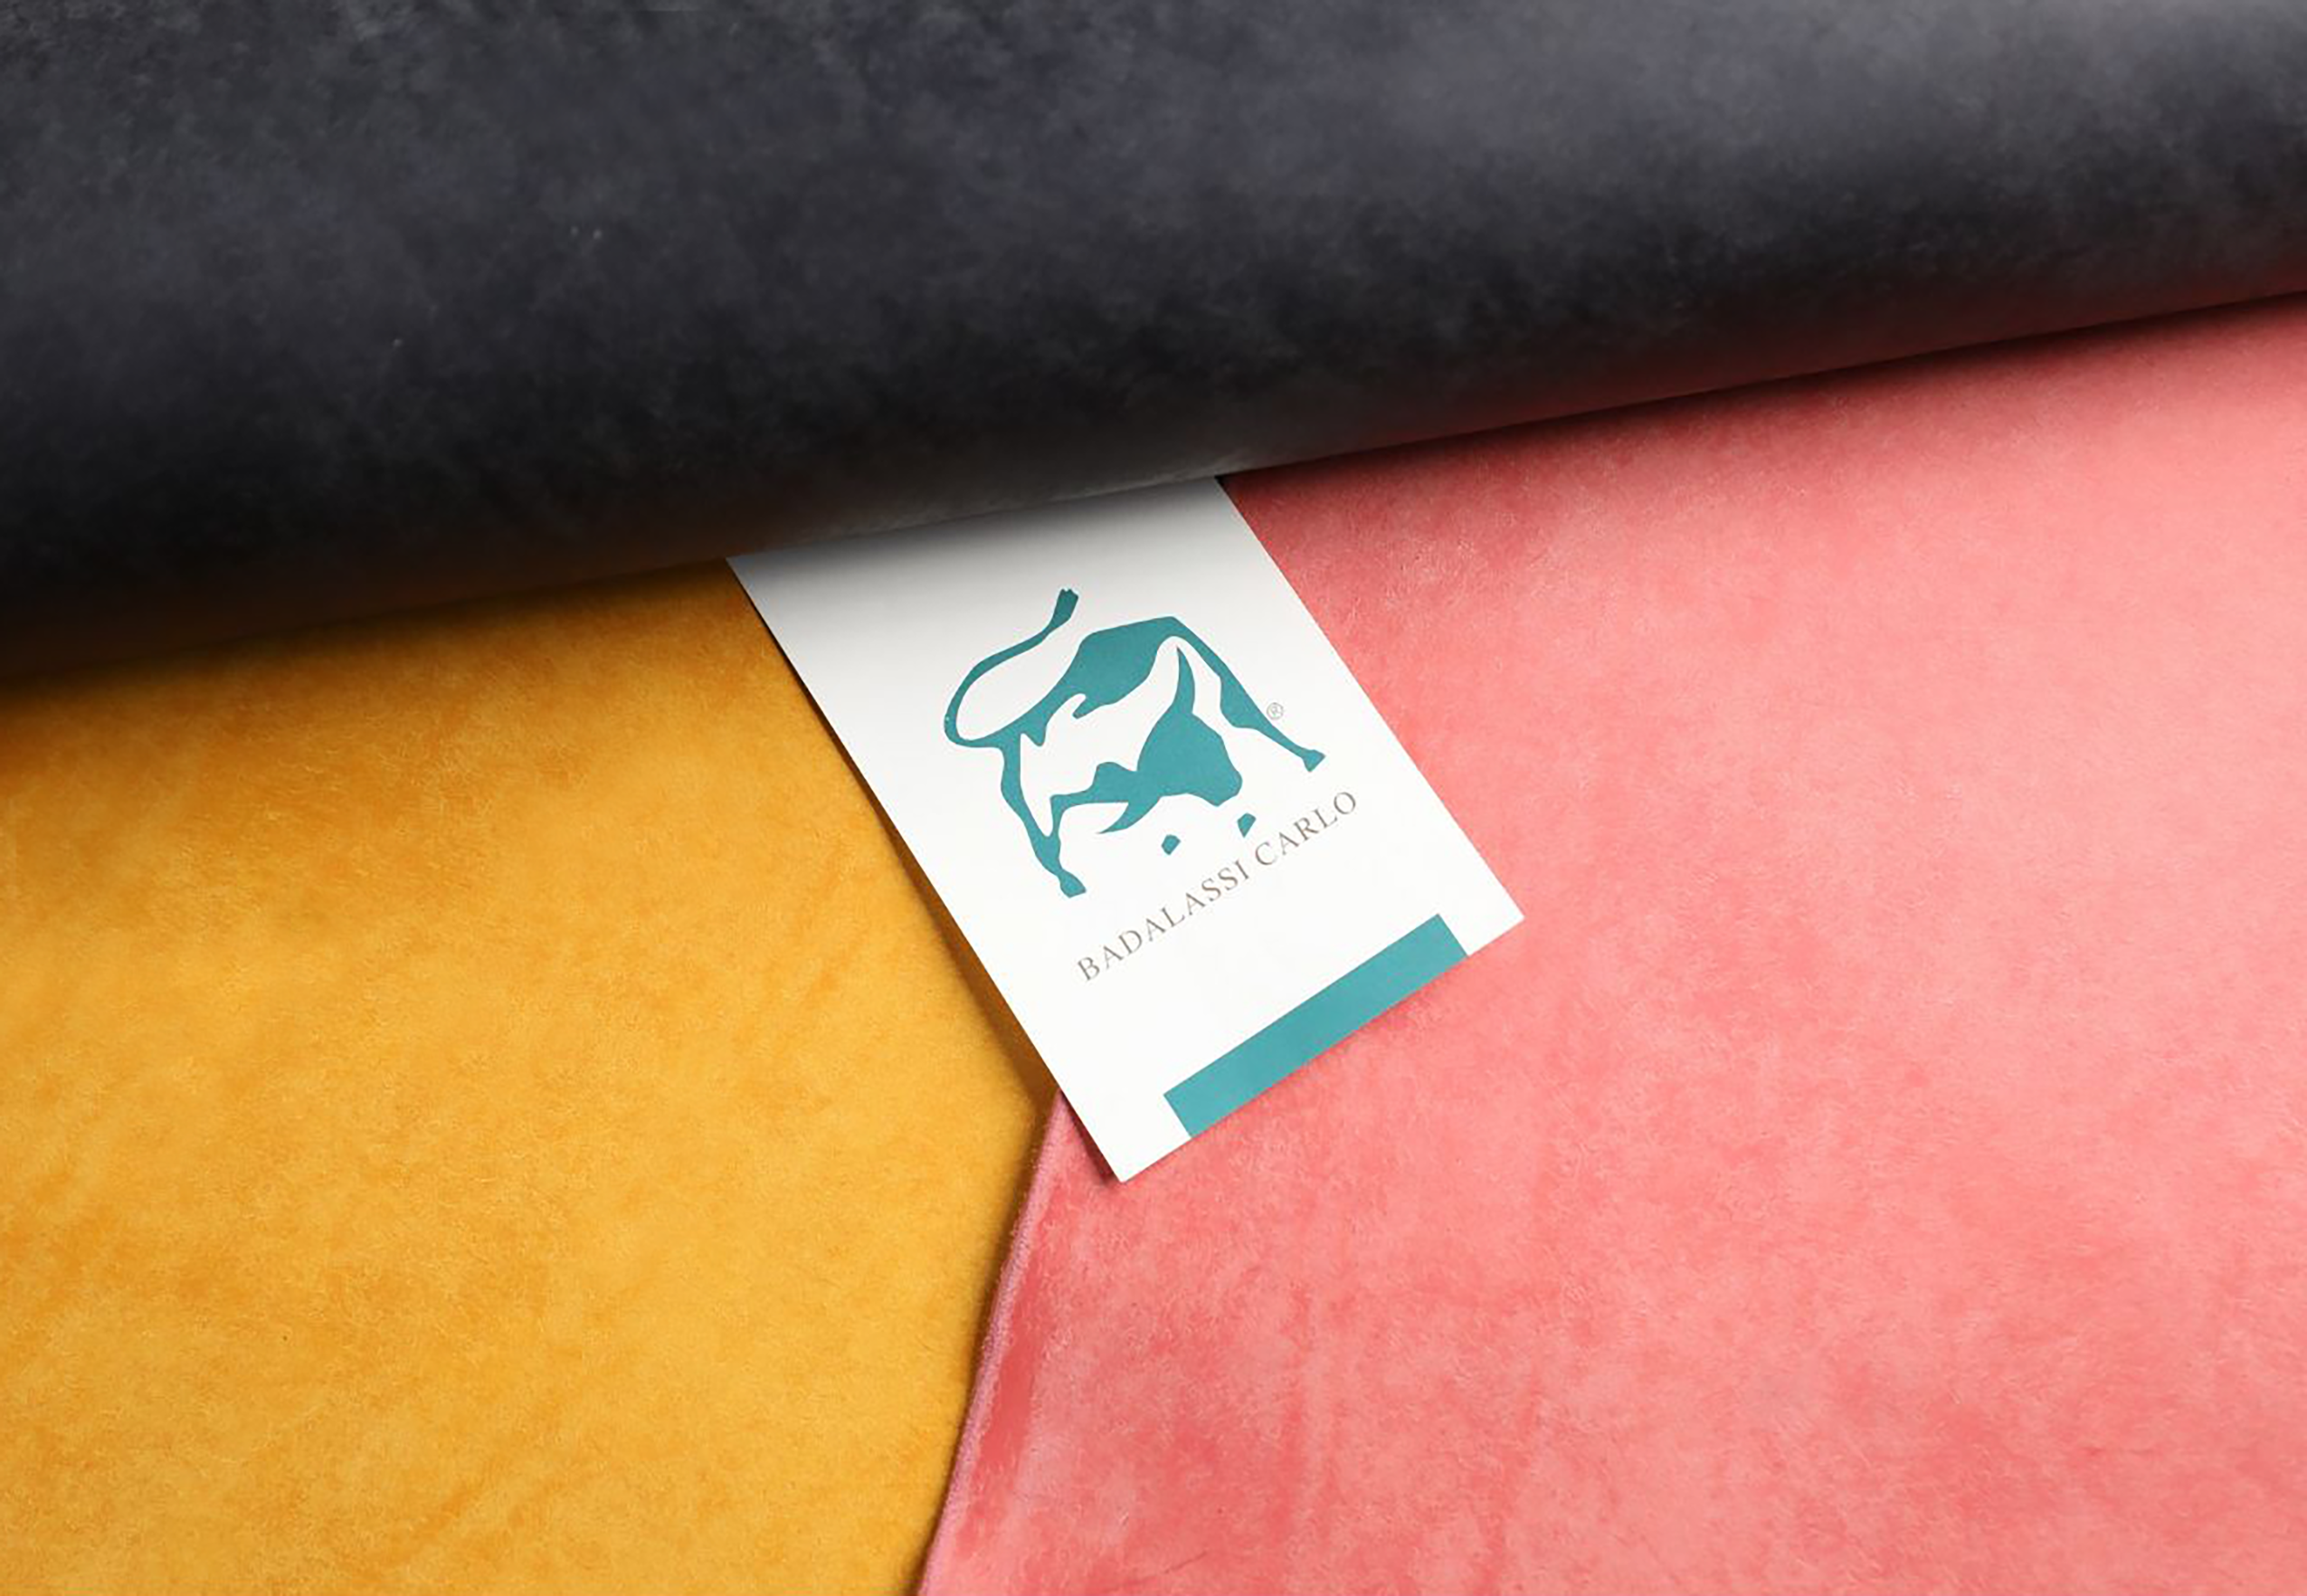
🇮🇹 Badalassi Carlo
🇮🇹 Conceria Walpier
🇮🇹 La Bretagna
🇫🇷 Du Puy
🇫🇷 Haas
🇮🇹 Maryam
🇮🇹 Rocado
🇯🇵 Shinki
🇯🇵 Ogawa
🇺🇸 Seidel
... and More
Cowhide
Cowhide (Calf)
Bison/Buffalo
Lamb
Goat
Horsehide
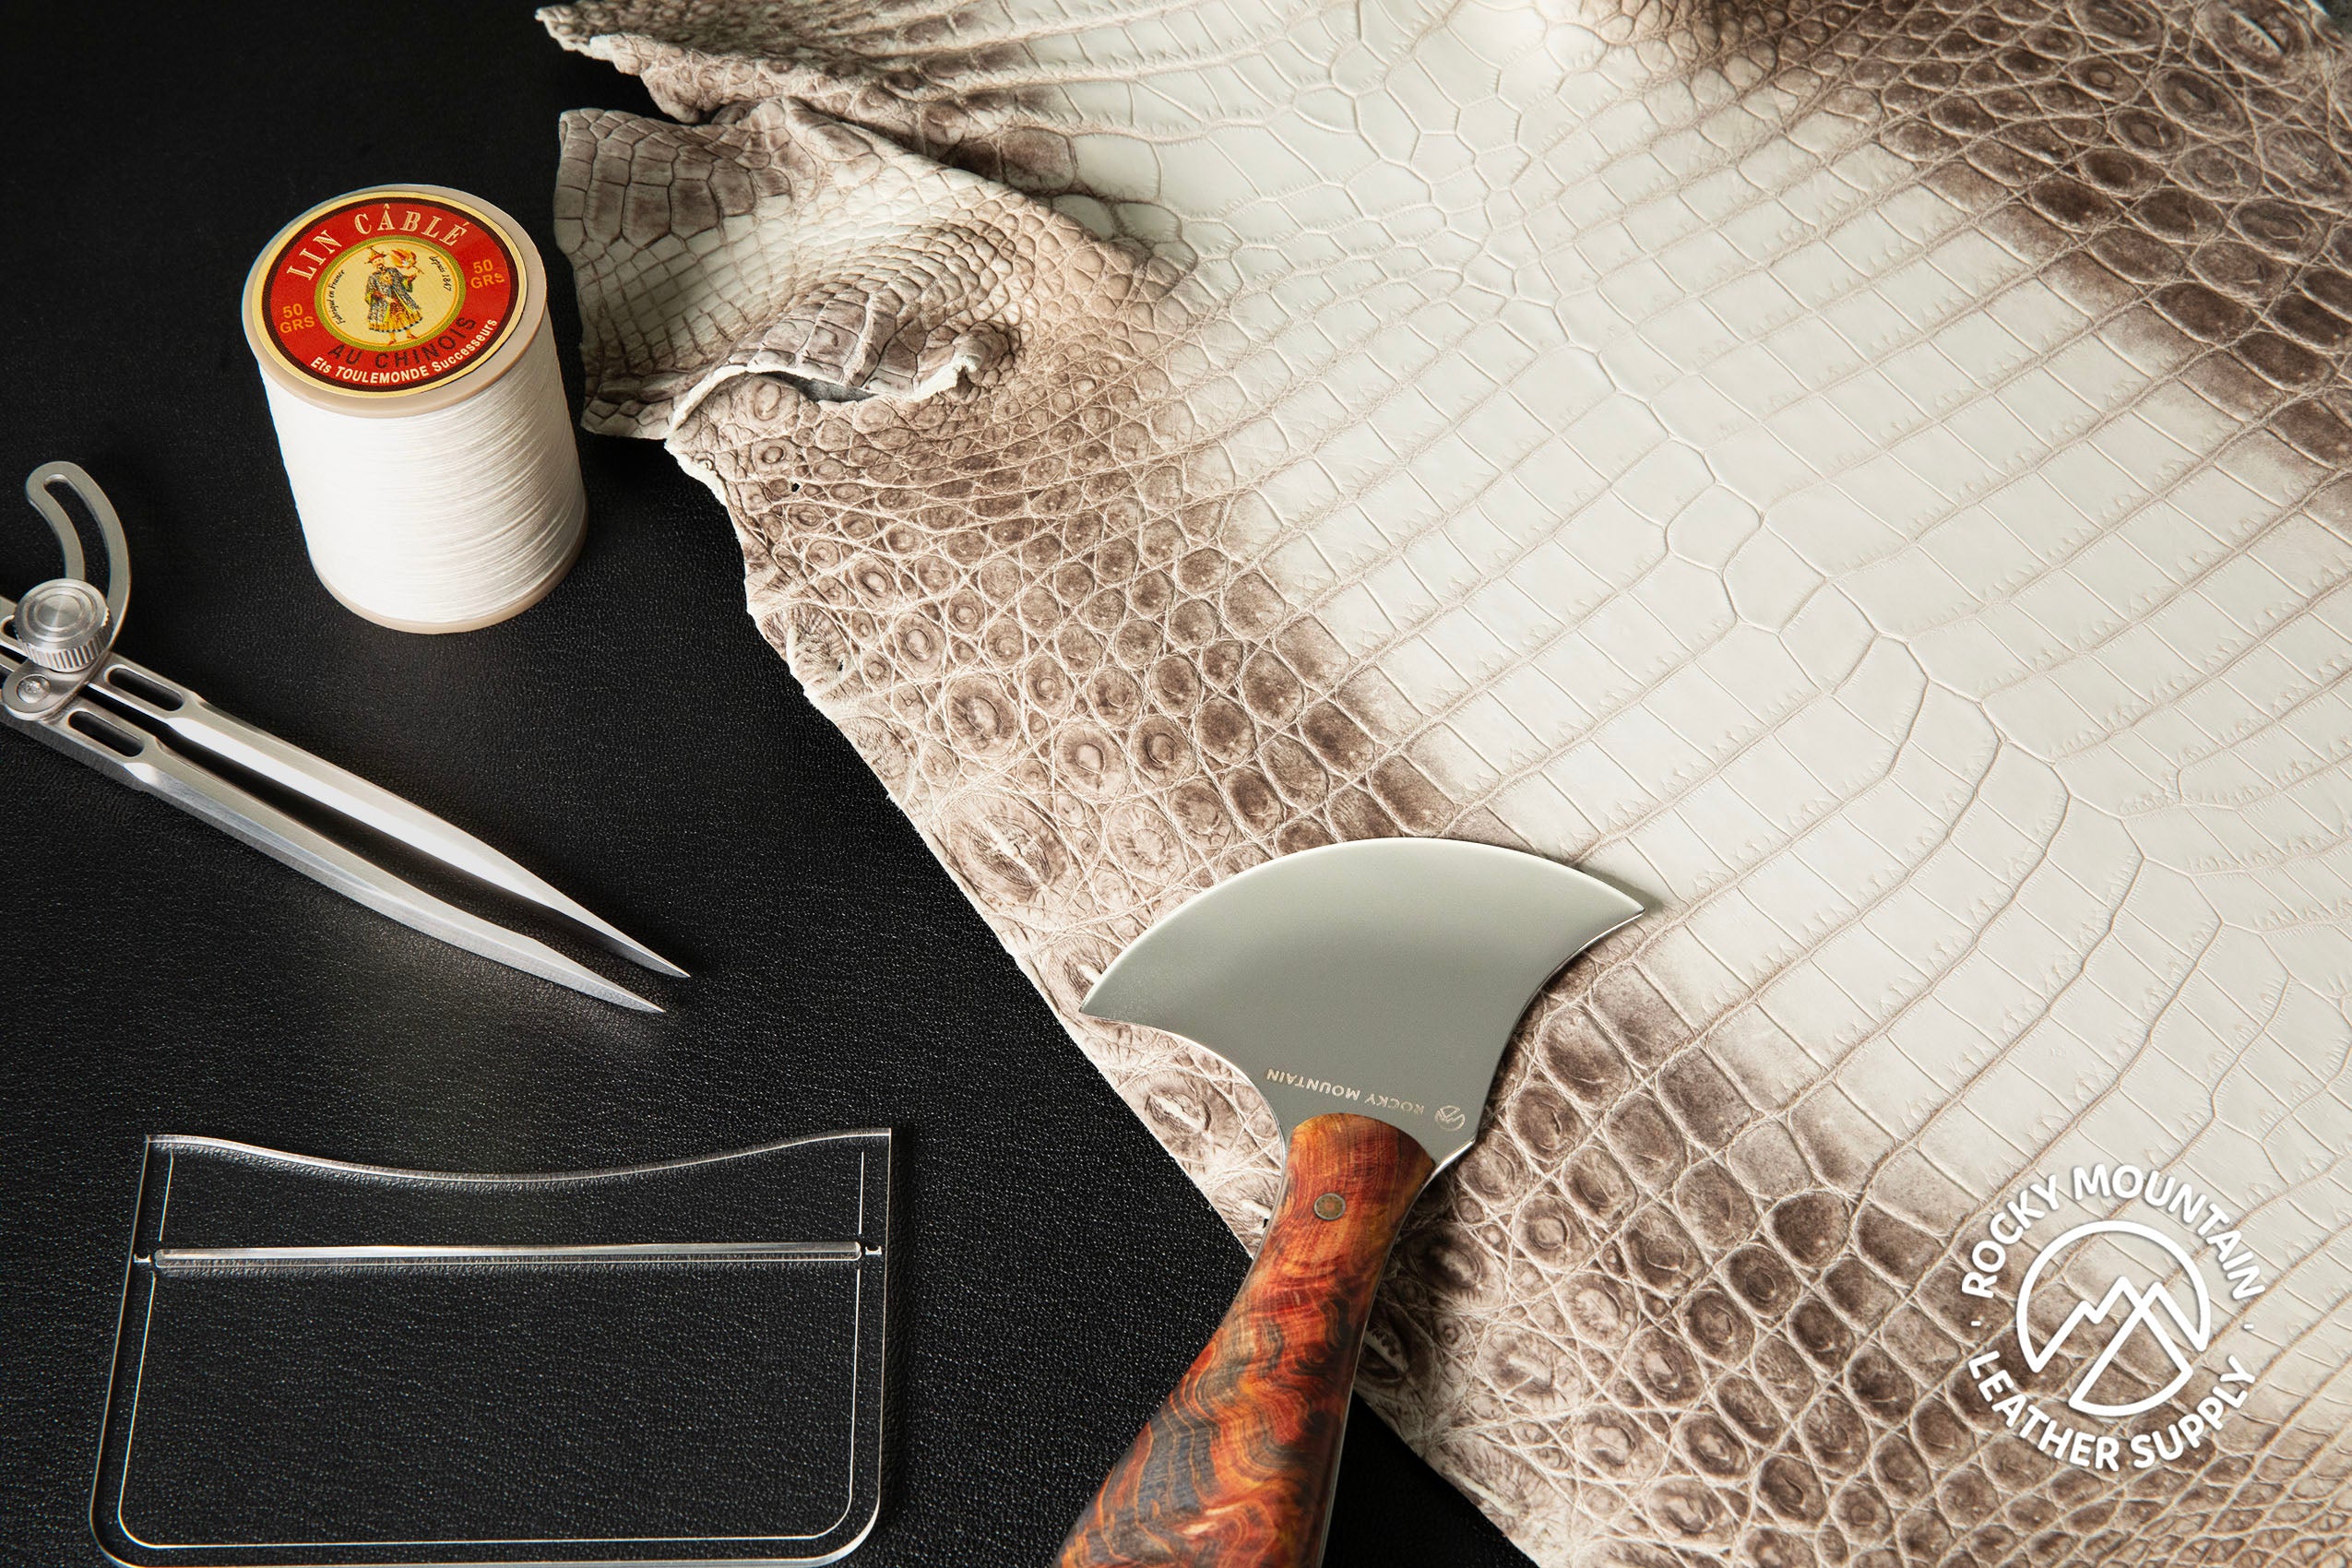
Snake
Shark/Fish
Lizard
Kangaroo
Ostrich
Alligator/Croc
Belts
Wallets
Totes/Handbags
Watch Straps/Bracelets
Shoemaking
Holsters/Sheaths
Armor
Jacket/Clothing
Mauls & Hammers
Pricking Irons
Awls
Edge Bevelers
Edge Creasers & Groovers
Punches
Burnish & Edge Paint
Stamps
Hardware Setters
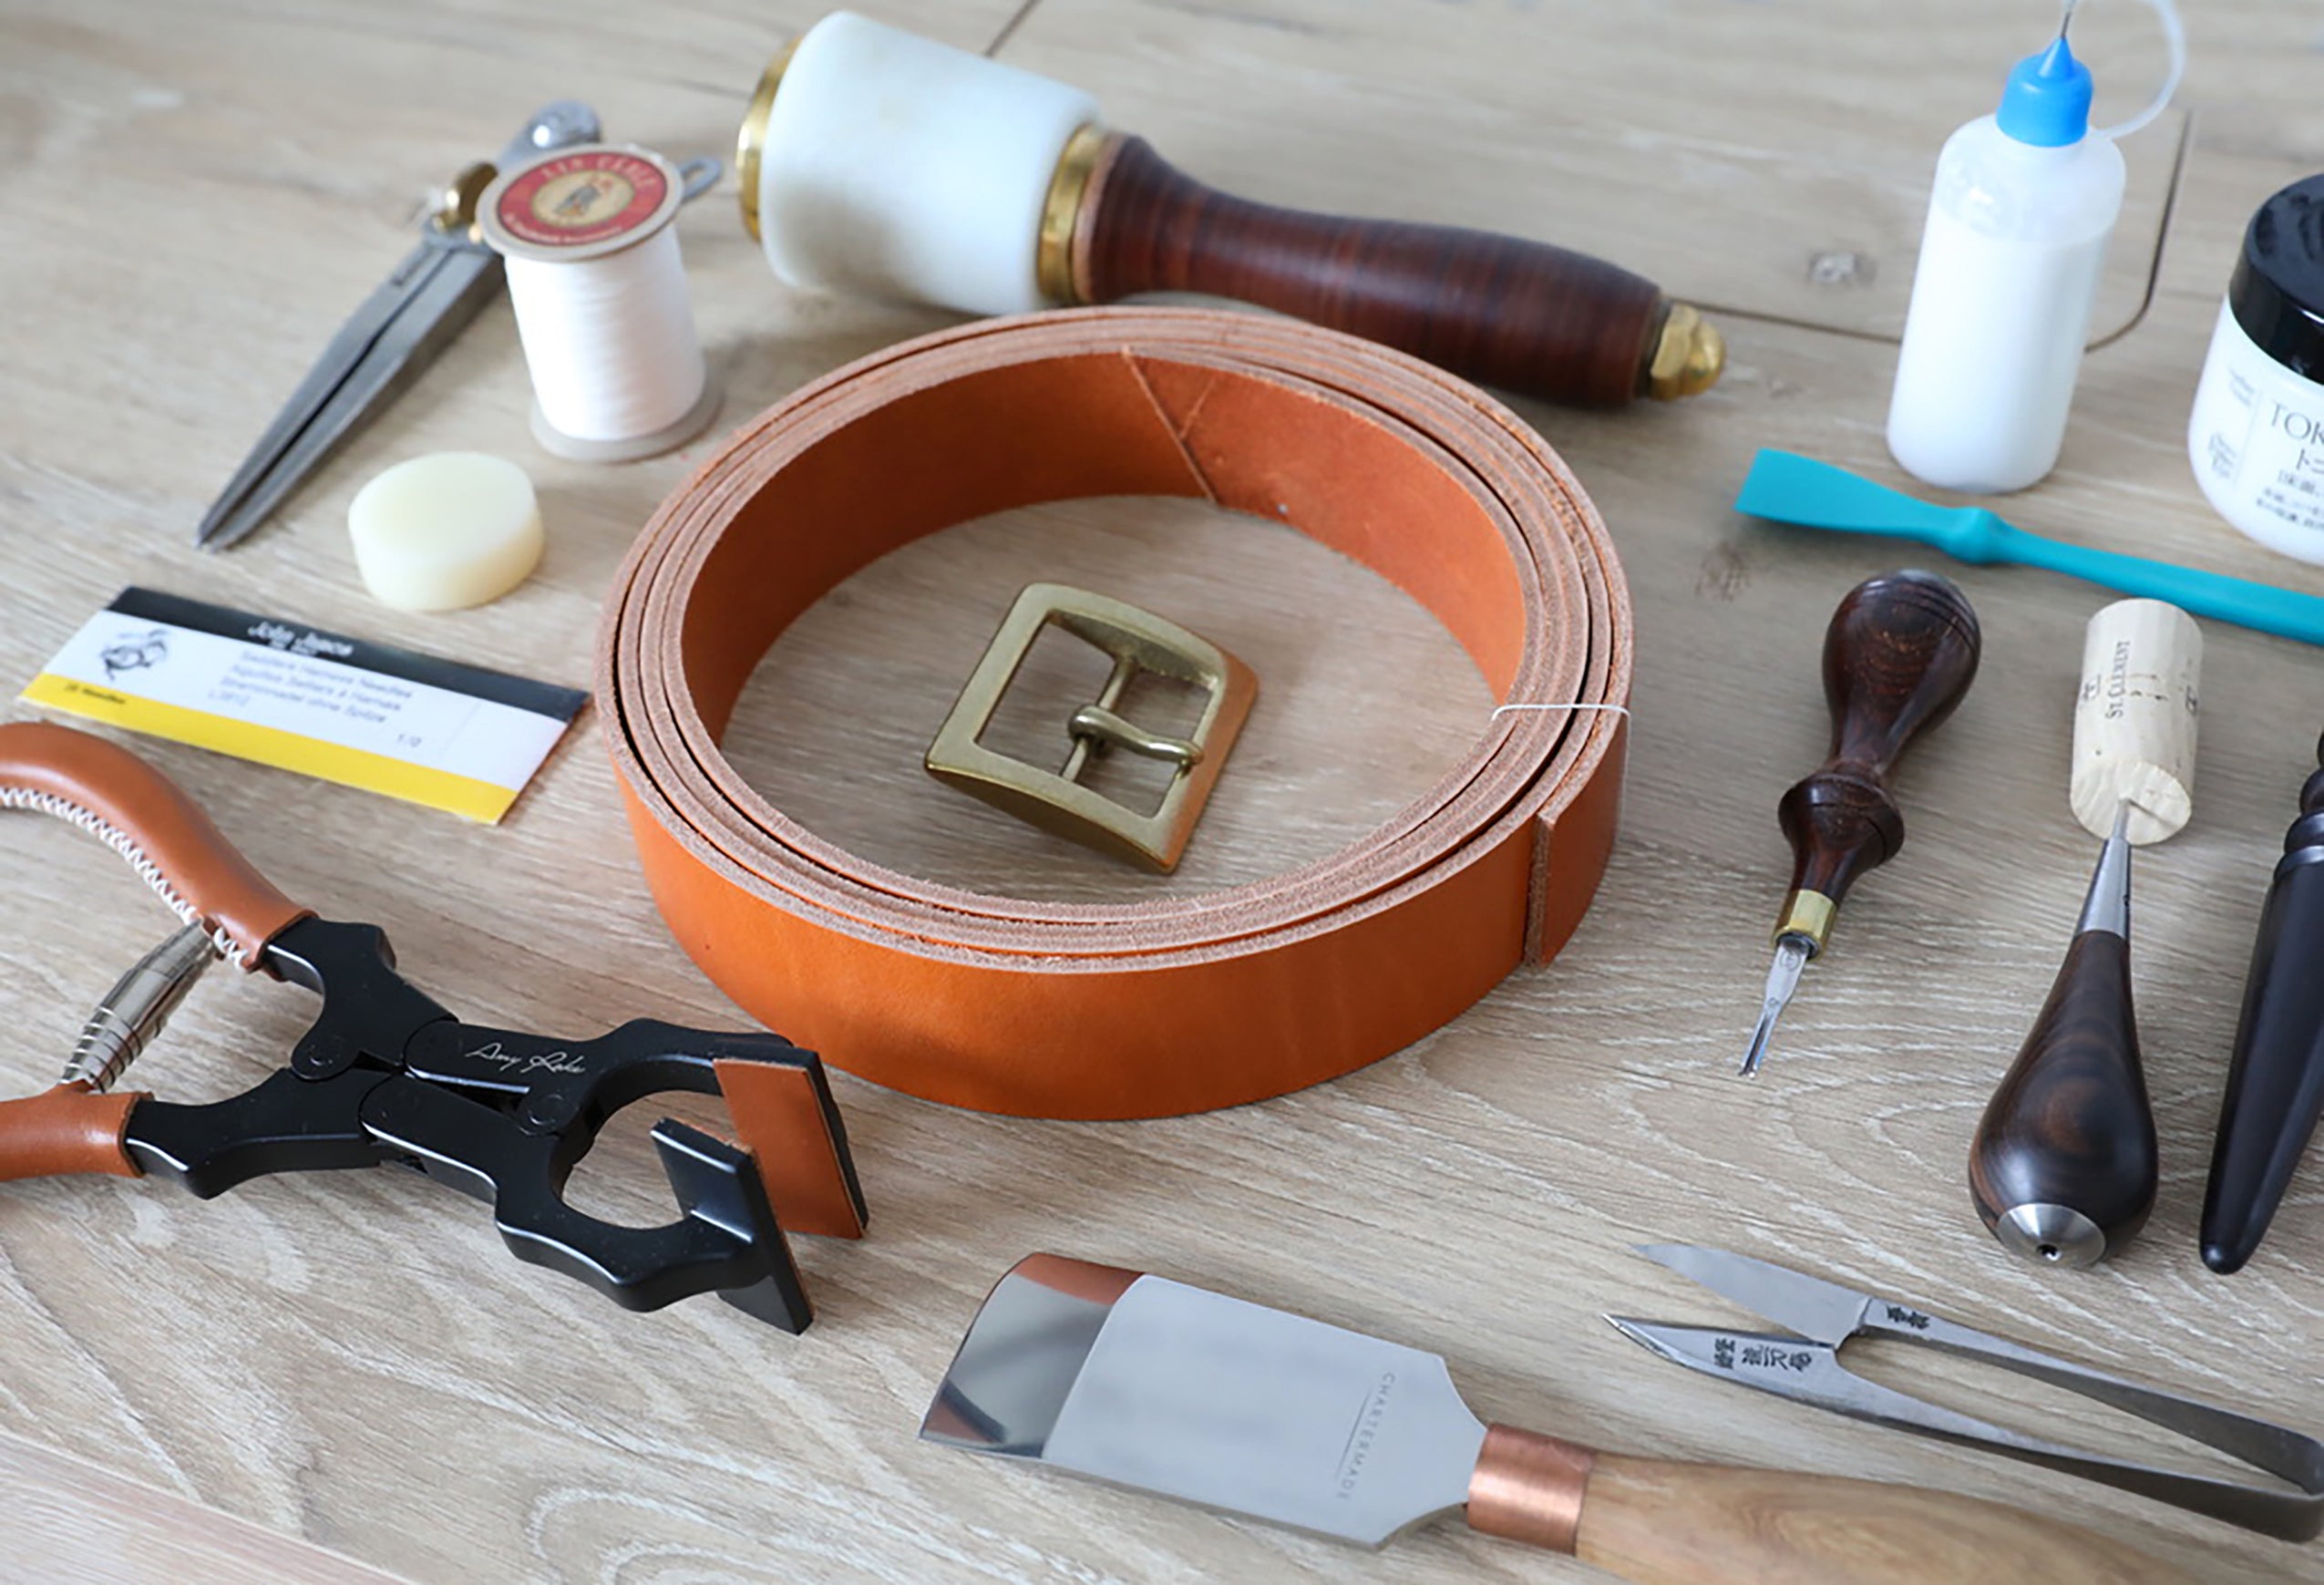
Bob Park Method of Burnishing & Edge Finishing


I am frequently asked about my process for finishing edges. It has evolved over the years as new products and tools become available. As a result I am constantly modifying the steps I take to produce a highly finished edge.
I use saddle soap and heavy canvas to burnish edges. It is a process that has been a standard in saddle shops all over the country, for years. The following is my adaptation and I hope you find it useful.
1) SAND EDGES – I use a stationary belt sander with a 150 or 220 grit belt, sanding against the direction of travel. An option would be to use the small sanding drums which can be used with drill motor. This will insure that all the layers of leather are even and square and that any residual glues or finishes have been removed.
2) EDGING –Use an edger to remove the corners on the edge of the leather. The size and type edger used is dictated by leather thickness and personal preference regarding the final profile of the edge. Using a good quality, sharp edger makes a nice smooth cut. Edging can be done with cased or dry leather.
3) WET & SOAP – Wet the edge of the leather using a sponge or piece of trimmed woolskin. Then rub Fiebings glycerin bar soap very well into the leather, resulting in a slick rounded edge.
4) BURNISH – I burnish with heavy canvas saturated with Fiebings yellow paste saddle soap. Canvas can be found at tent/awning shops or fabric supply stores. Denim will work also, but I prefer the canvas. Burnishing is accomplished by briskly rubbing the canvas against the edge of the belt until the edge is smooth. Use some elbow grease…you will feel the heat from the friction.
I use canvas wrapped around a motorized wood burnishing wheel which speeds up the process. I have found that when burnishing mechanically, it is especially important to keep the canvas saturated with yellow soap. This seems to help keep the friction created between the canvas and the leather under control. Be careful not to over-burnish, which will result in a rough edge.
5) DYE – At this point, dye the edge. I prefer spirit dyes as they are absorbed into the leather rather than bonding to the outside, like edge paint. Dyeing at this stage will produce a very neat, clean dye line as the leather is smooth and the fibers are tightly bonded together. It is very difficult to get a clean straight dye line before the edge is burnished when using spirit or oil based dyes.
6) HAND BURNISH – Use a clean cloth to rub the edge removing any residual dye and to determine if a second coat is necessary (old t-shirts are great for this). If no additional dyeing is required, use a hand burnisher or rub stick to rub any imperfections out of the edges. NOTE: Steps 5 and 6 can easily be reversed. I think that I started hand burnishing after dyeing only because the addition of the dye helped me to identify imperfections in the edge.
7) POLISH – At this point I apply paraffin to the edge of the belt and burnish again. Denim works well here if burnishing by hand. I burnish mechanically with a soft sanding drum wrapped with cordura nylon, generously impregnated with paraffin. Once I'm satisfied with the finish, I polish to a high luster with a dry cloth.
8) FINISH – After the edges are polished, apply the final finish. I happen to like Neat-Lac and apply it sparingly in light coats.
LIST OF SUPPLIES:
- Fiebing's Saddle Soap - Click Here
- Sand Paper - Click Here
- Hand Burnisher - Click Here
- Fiebing's Dye - Click Here
- Beeswax Block - Click Here
- Burnishing Cloth - Click Here
Bob Park Custom Leather Designs.
- Choosing a selection results in a full page refresh.
!